Red velvet cake is a classic dessert known for its vibrant red color, rich cocoa flavor, and moist texture. When baked as a bundt cake, this Southern favorite takes on a new level of sophistication.
This guide will walk you through everything you need to know about making the perfect Red Velvet Bundt Cake—from its history and key ingredients to variations, frosting options, and troubleshooting tips. Let’s dive in and master this stunning dessert together!
Table of Contents
What Makes Red Velvet Bundt Cake Special? 🎨
The red velvet cake has a fascinating history, dating back to the early 20th century. Unlike a traditional chocolate cake, red velvet has a unique balance of flavors, thanks to the tanginess from buttermilk and vinegar.
The bundt cake version adds a level of sophistication, making it ideal for birthdays, holidays, and celebrations. Plus, the distinctive ridges of the bundt pan allow for even baking and a beautiful presentation.
Why You’ll Love This Recipe ❤️
✔️ Elegant & Show-Stopping – The bundt shape makes it perfect for special occasions.
✔️ Moist & Velvety – Buttermilk and cocoa powder give it the perfect texture.
✔️ Customizable – Add a cream cheese filling, chocolate chips, or nuts.
✔️ Easy to Make – Simple ingredients, easy steps, and beginner-friendly!
For more bundt cake inspiration, check out our Strawberry Crunch Poke Cake—another visually stunning dessert!
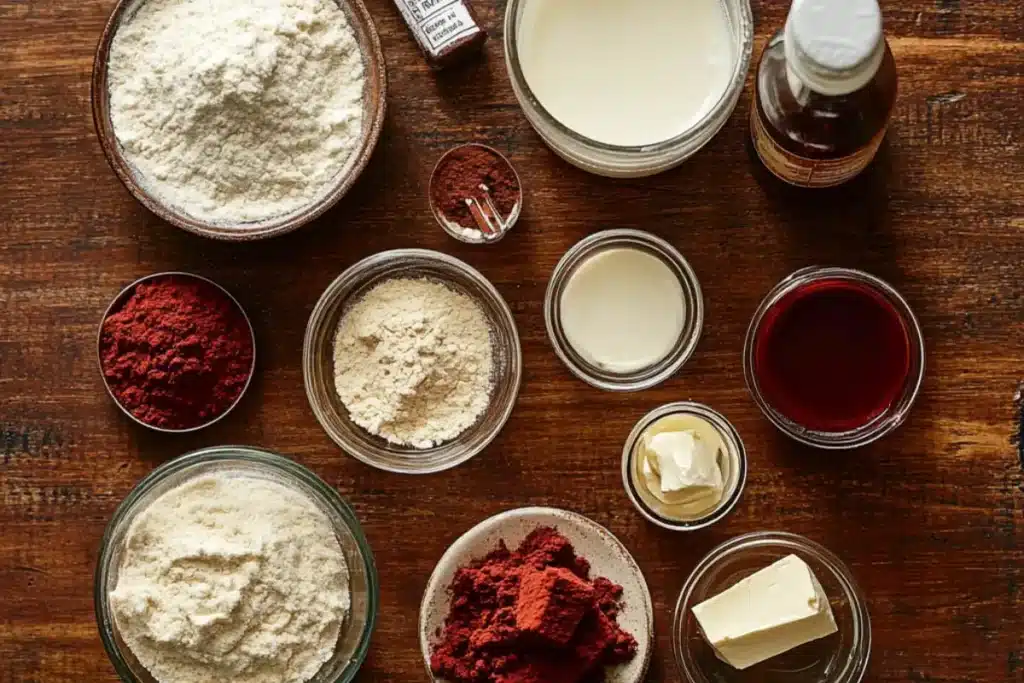
Essential Ingredients for Red Velvet Bundt Cake 🛒

Key Ingredients:
- All-Purpose Flour – Provides structure for the bundt shape.
- Cocoa Powder – Just a hint enhances the chocolate flavor.
- Buttermilk – Adds moisture and tang.
- Vinegar – Reacts with baking soda for a fluffy texture.
- Red Food Coloring – Essential for the signature red hue.
- Cream Cheese – Used in the glaze for a tangy contrast.
Optional Add-Ins:
- Chocolate Chips – For extra richness.
- Nuts – Pecans or walnuts add crunch.
- Cream Cheese Filling – For an indulgent twist.
For more tips on cake textures, check out Why Is My Strawberry Cake So Dense?!
How to Make Red Velvet Bundt Cake 🍰
Step 1: Prep the Bundt Pan
- Preheat your oven to 350°F (175°C).
- Grease the bundt pan with non-stick spray, butter, and flour.
For extra non-stick baking tips, check out How to Prevent Cakes from Sticking!
Step 2: Mix the Batter
- Combine Dry Ingredients: Sift flour, cocoa powder, baking soda, and salt.
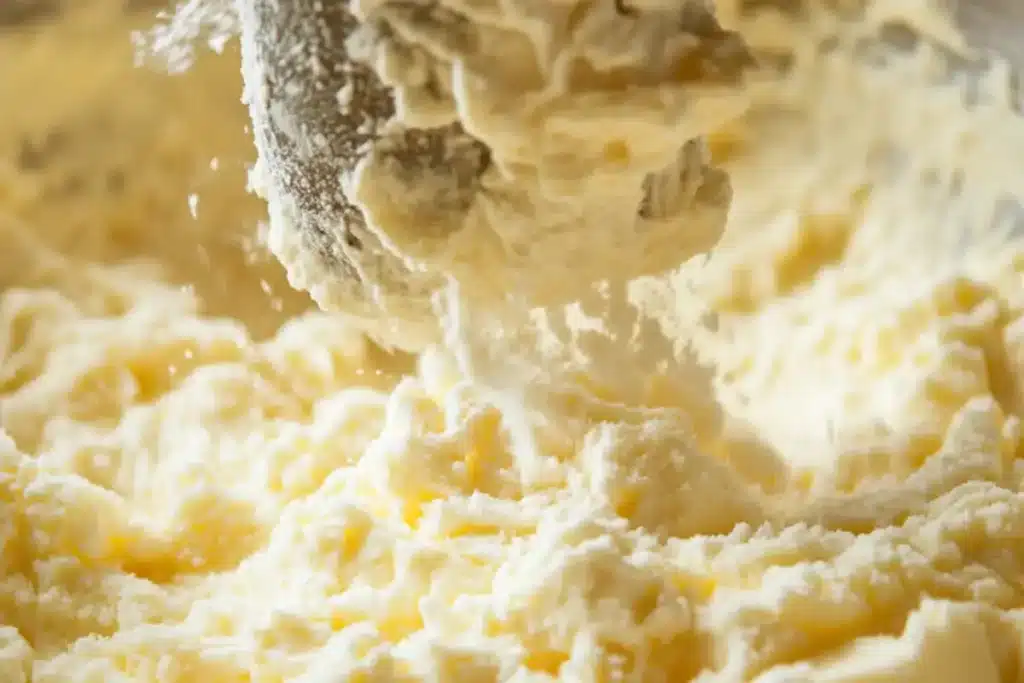
- Cream Butter & Sugar: Beat until light and fluffy.
- Add Eggs: Incorporate one at a time.
- Alternate Wet & Dry Ingredients: Add buttermilk and dry mix in batches.
- Add Red Food Coloring for that classic red velvet look!
Step 3: Bake the Cake
- Pour the batter into the prepared bundt pan.
- Bake for 45-55 minutes or until a toothpick comes out clean.
- Let cool for 10 minutes, then invert onto a wire rack.
Step 4: Make the Cream Cheese Glaze 🥄

Ingredients:
- 4 oz cream cheese, softened
- 1 cup powdered sugar
- 1 tsp vanilla extract
- 2-4 tbsp milk (adjust for consistency)
Instructions:
- Beat cream cheese until smooth.
- Gradually add powdered sugar.
- Stir in vanilla extract & milk until pourable.
- Drizzle over cooled cake! ✨
For alternative frostings, try:
✔️ Buttercream Frosting – For a rich, classic taste.
✔️ Chocolate Ganache – For an extra indulgent touch.
✔️ Whipped Cream – For a lighter option.
Red Velvet Bundt Cake Variations 🍫
1. Red Velvet Bundt Cake with Cream Cheese Filling
Filling Ingredients:
- 8 oz cream cheese, softened
- 1/4 cup sugar
- 1 egg 🥚
- 1 tsp vanilla extract
Instructions:
- Beat cream cheese and sugar until smooth.
- Add egg and vanilla, mixing until combined.
- Pour half the cake batter into the pan, add the cream cheese filling, then top with the rest of the batter.
2. Mini Red Velvet Bundt Cakes
- Use mini bundt pans and reduce baking time to 20-25 minutes.
- Perfect for individual servings and special occasions!
3. Gluten-Free & Vegan Red Velvet Bundt Cake
- Gluten-Free: Swap all-purpose flour for a gluten-free blend.
- Vegan: Replace eggs with flax eggs, and use dairy-free buttermilk (almond milk + vinegar).
For other ways to enjoy delicious desserts, consider trying this Pumpkin Pie with Graham Cracker Crust for a fall-themed treat.
Serving & Storing Red Velvet Bundt Cake 🍽️
Serving Suggestions:
- Pair with vanilla ice cream, fresh berries, or whipped cream.
- Slice with a serrated knife for clean cuts.
Storing & Freezing:
- Room Temperature: Store in an airtight container for 3 days.
- Refrigerate: Keep for up to 5 days.
- Freezing: Wrap in plastic + foil and freeze for up to 3 months.
Making a red velvet bundt cake at home is fun, rewarding, and always impressive. Whether you stick to the classic recipe or try fun variations, your cake is sure to be a showstopper!
Gather your ingredients, preheat your oven, and get ready to bake the ultimate Red Velvet Bundt Cake!
FAQs: Red Velvet Bundt Cake ❓
What Makes Red Velvet Cake Different from Chocolate Cake?
- While it contains cocoa powder, red velvet is lighter, has tangy notes from buttermilk, and of course, its signature red color!
Can I Make Red Velvet Bundt Cake Ahead of Time?
- Yes! Bake 1-2 days in advance and store at room temp or refrigerate.
How Do I Prevent My Bundt Cake from Sticking?
- Grease the pan thoroughly.
- Use flour or cocoa powder for easy release.
Can I Use Natural Food Coloring Instead of Red Dye?
- Yes! Substitute with beet juice or pomegranate juice, but the color may be less vibrant
Red Velvet Bundt Cake
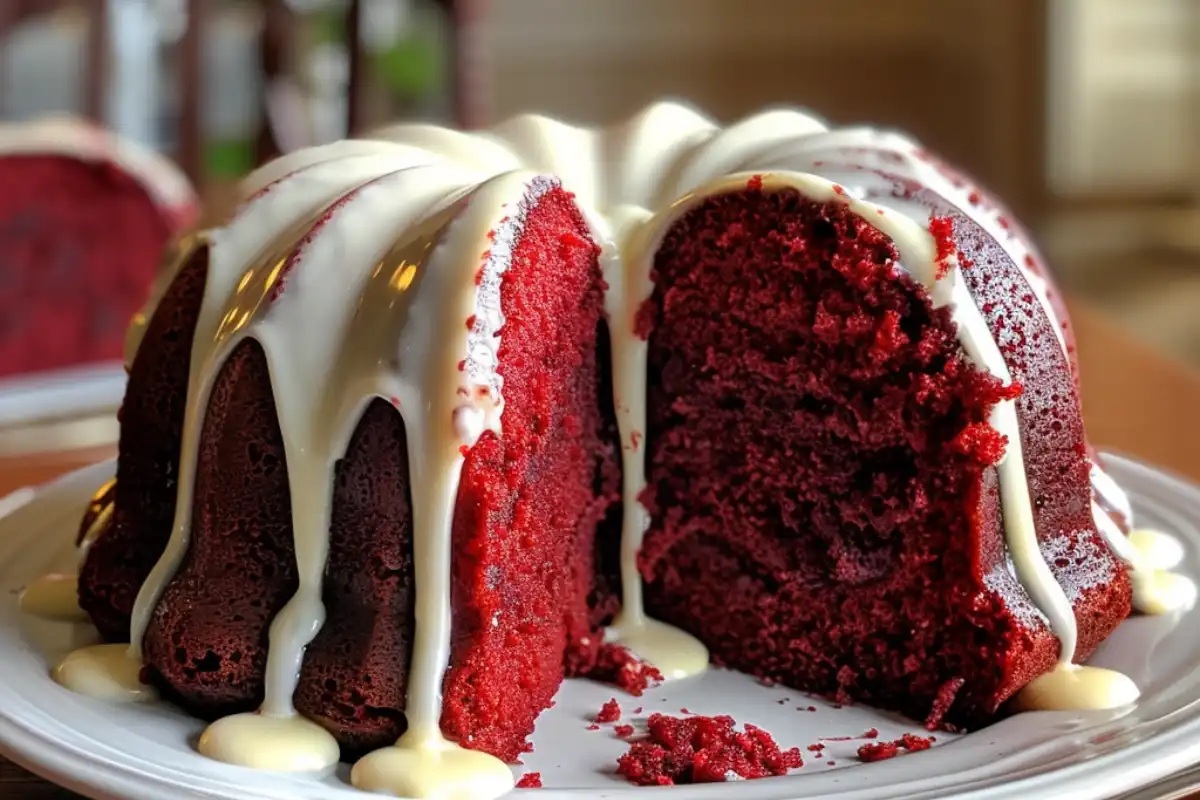
This Red Velvet Bundt Cake is rich, moist, and topped with a creamy cream cheese glaze. With its stunning deep red color and hint of cocoa, this classic cake is perfect for holidays, birthdays, or any special occasion! 🎂❤️
- Prep Time: 15 minutes
- Cook Time: 45 minutes
- Total Time: 1 hour 20 minutes
- Category: Dessert
- Method: Baked
Ingredients
For the Red Velvet Bundt Cake:
- 2 ½ cups all-purpose flour
- 1 ½ cups granulated sugar
- 1 tsp baking soda
- 1 tsp salt
- 1 tsp cocoa powder
- 1 cup buttermilk
- 1 cup vegetable oil
- 2 large eggs
- 1 tbsp white vinegar
- 2 tsp vanilla extract
- 2 tbsp red food coloring
For the Cream Cheese Glaze:
- 4 oz cream cheese, softened
- 1 cup powdered sugar
- ½ tsp vanilla extract
- 3–4 tbsp milk (adjust for consistency)
Instructions
-
Preheat & Prepare the Pan:
- Preheat oven to 350°F (175°C).
- Grease and flour a 10-cup Bundt pan.
-
Make the Cake Batter:
- In a bowl, whisk together flour, sugar, baking soda, salt, and cocoa powder.
- In another bowl, mix buttermilk, oil, eggs, vinegar, vanilla, and food coloring.
- Gradually add the wet ingredients to the dry ingredients, stirring until smooth.
-
Bake the Cake:
- Pour batter into the Bundt pan and bake for 40-45 minutes, or until a toothpick inserted comes out clean.
- Let the cake cool in the pan for 10 minutes, then invert onto a wire rack.
-
Prepare the Cream Cheese Glaze:
- Beat cream cheese, powdered sugar, vanilla, and milk until smooth.
- Drizzle over the cooled cake.
-
Serve & Enjoy:
- Let the glaze set before slicing. Enjoy this rich and velvety treat!
Notes
- For a deeper cocoa flavor, add an extra teaspoon of cocoa powder.
- For extra moisture, replace ½ cup of oil with unsweetened applesauce.
- Decorate with sprinkles, white chocolate shavings, or chopped nuts for a festive touch.


2 thoughts on “How to Make the Perfect Red Velvet Bundt Cake”