
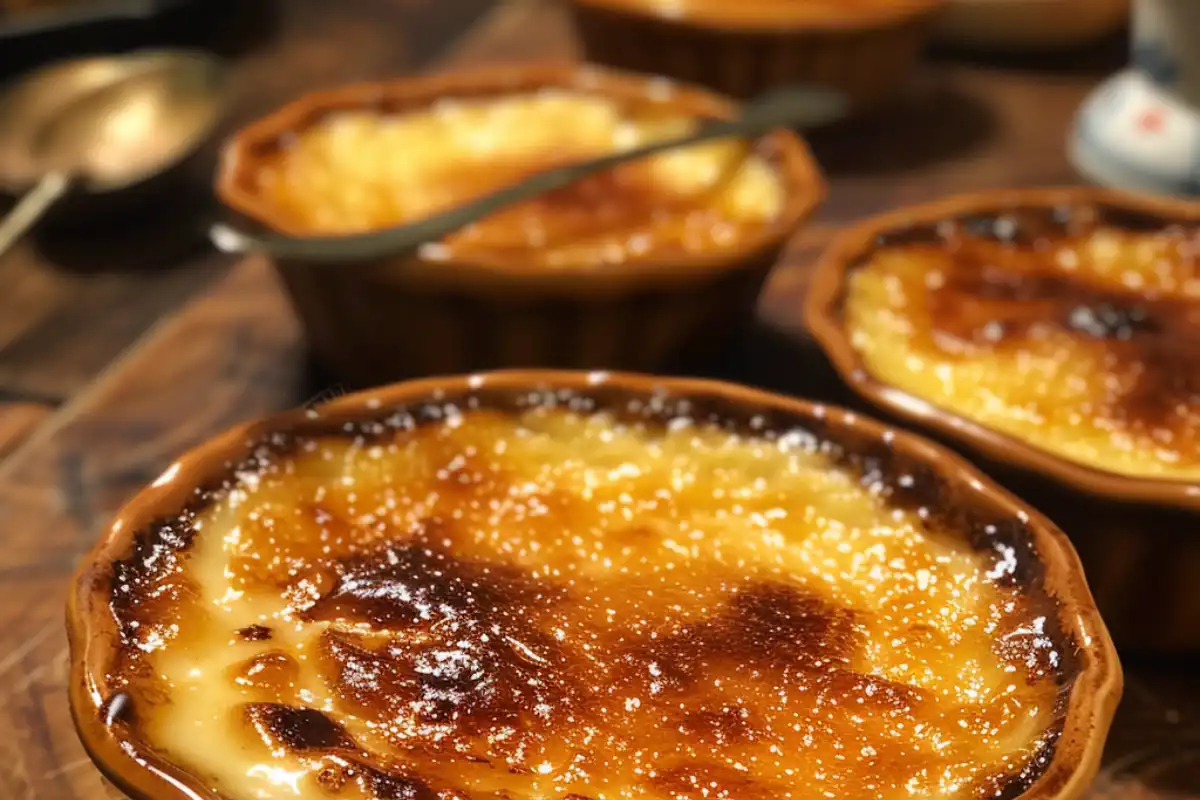
Crème brûlée is a luxurious French dessert that perfectly combines the creamy texture of custard with the satisfying crunch of caramelized sugar. While the classic method of caramelizing the top requires a kitchen torch, not everyone has one at home. Fortunately, there are several alternative methods to achieve that signature caramelized crust—without a torch.
In this comprehensive guide, we will explore various techniques for caramelizing crème brûlée without a torch. Whether you’re a beginner in the kitchen or an experienced cook looking for new ideas, this article will walk you through the process step by step, so you can create the perfect dessert with ease.
Why You Might Want to Avoid Using a Torch for Caramelizing Crème Brûlée
A kitchen torch is often the go-to tool for caramelizing the sugar on top of crème brûlée, but there are several reasons you might want to skip it:
- Safety Concerns: Using a flame in the kitchen can be hazardous, particularly for beginners or homes with children.
- Lack of Equipment: Not every household has a kitchen torch, and purchasing one for occasional use may not seem necessary.
- Precision Issues: Controlling the heat from a torch can be tricky, especially for those new to using it, leading to uneven caramelization or burnt sugar.
Luckily, there are several effective alternatives that can help you achieve the same delicious result without the need for a torch.
Method 1: Using the Oven’s Broiler to Caramelize Crème Brûlée Without a Torch
One of the most popular alternatives to a torch is using your oven’s broiler. This method is simple, effective, and accessible in almost every kitchen.
Step-by-Step Guide to Using the Broiler
- Preheat the Broiler: Start by setting your oven to the broiler setting. Allow it to preheat for 5-10 minutes to ensure even caramelization.
- Prepare Your Crème Brûlée: After your custard has chilled and set, sprinkle an even layer of granulated sugar (about 1 teaspoon) on top of each ramekin.
- Position in the Oven: Place the ramekins on a baking sheet and position them on the top rack of the oven, about 4-6 inches from the broiler.
- Monitor Closely: Keep a close eye on the sugar as it begins to melt and bubble. The process usually takes 2-4 minutes, but this can vary depending on your broiler. Watch carefully to avoid burning.
- Cool Before Serving: Once the sugar is caramelized to a golden-brown color, remove the ramekins and allow them to cool slightly before serving.
Advantages of the Broiler Method
- Accessible: Almost all kitchens are equipped with a broiler, making this method convenient.
- Multiple Servings at Once: You can caramelize several ramekins simultaneously, making this method perfect for dinner parties.
For a more in-depth look at how sugar caramelization works, you can refer to our detailed guide on What Sugar for Brûlée?, which explains how different sugars affect caramelization and flavor.
Disadvantages of the Broiler Method
- Uneven Heat Distribution: Some broilers can produce uneven heat, leading to areas of burnt sugar or under-caramelization.
- Close Monitoring Required: You’ll need to watch the process closely to prevent the sugar from burning, as broilers can be unpredictable.
Despite these challenges, the broiler method is one of the most effective ways to caramelize crème brûlée without needing a torch.
Just like achieving the perfect moisture in cupcakes (find tips in our Secret to Moist Cupcakes), controlling the texture of your crème brûlée is essential to its success
Method 2: The Hot Spoon or Spatula Technique for Crème Brûlée Without a Blowtorch
For those without access to an oven, the hot spoon or spatula method is another practical technique for achieving a caramelized top. This method involves heating a metal spoon or spatula until it’s red-hot and pressing it onto the sugar.
Step-by-Step Guide to the Hot Spoon Method
- Chill the Custard: Begin by ensuring your crème brûlée custard is fully chilled. Sprinkle an even layer of sugar over the top of each ramekin.
- Heat a Metal Spoon or Spatula: Place a metal spoon or spatula over a stovetop burner. Heat it until it becomes extremely hot—ideally glowing red.
- Press the Heated Spoon Onto the Sugar: Carefully press the hot spoon or spatula directly onto the sugar layer. Move it around the top to melt the sugar evenly.
- Reheat if Necessary: If the sugar isn’t fully caramelized, reheat the spoon and press it again until you achieve the desired level of caramelization.
Advantages of the Hot Spoon Method
- No Oven Required: This method is ideal for kitchens without access to a broiler.
- Precision Control: You can control exactly where the heat is applied, allowing for targeted caramelization.

Kitchen Butterfly offers a more detailed guide on the hot spoon technique, which explains how to use this method effectively in your kitchen.
Disadvantages of the Hot Spoon Method
- Time-Consuming: This method can be slow, especially if you’re making multiple servings.
- Potential for Uneven Results: If the spoon isn’t evenly heated, you may end up with spots of uncooked sugar.
For those willing to take the time, the hot spoon method can provide an effective alternative to a torch, and it’s especially useful in small kitchens.
Method 3: Caramel Pour Technique for Caramelizing Crème Brûlée Without a Torch
The caramel pour method is another creative way to achieve a professional-looking caramel top without using a torch. This method involves preparing a caramel sauce separately and pouring it over the set custard.
Step-by-Step Guide to the Caramel Pour Method
- Make the Caramel: In a small saucepan, heat granulated sugar over medium heat. Stir occasionally until the sugar melts and turns a golden amber color.
- Pour Over the Custard: Once the caramel is ready, carefully pour a thin layer over the top of each chilled crème brûlée.
- Let It Set: Allow the caramel to cool and harden. This process should take just a few minutes.
- Serve and Enjoy: Once the caramel has set, your crème brûlée is ready to serve with a perfect, glass-like top.
Advantages of the Caramel Pour Method
- Consistent Results: Because the caramel is prepared separately, it ensures a smooth, uniform crust every time.
- Beautiful Finish: This method creates a glossy, professional-looking top that’s sure to impress.
For those looking for more guidance on making caramel, check out our tutorial on creating the perfect caramel for desserts like crème brûlée in our post on Classic Caramel Desserts.
Disadvantages of the Caramel Pour Method
- Requires Extra Steps: You’ll need to make the caramel separately, which can be time-consuming.
- Burn Risk: Caramel can easily burn if not watched closely, which could result in a bitter-tasting top.
Overall, this method is perfect for those who want a uniform and polished result without using a torch or broiler.
Method 4: Cast Iron Pan Method for Caramelizing Crème Brûlée Without a Torch
If you’re feeling adventurous, the cast iron pan method can be a creative way to caramelize your crème brûlée without needing a torch or oven. This method uses direct heat from a cast iron skillet to melt the sugar.
Step-by-Step Guide to the Cast Iron Pan Method
- Heat the Cast Iron Pan: Place a cast iron skillet on the stovetop and heat it on high until it’s very hot.
- Place the Ramekins in the Pan: Once the pan is hot, carefully place the ramekins into the skillet. The heat from the pan will begin to caramelize the sugar.
- Rotate as Needed: You may need to rotate the ramekins to ensure even caramelization.
- Cool and Serve: Once the sugar is fully caramelized, remove the ramekins from the skillet and allow them to cool.
Advantages of the Cast Iron Pan Method
- No Torch or Broiler Needed: This method is ideal for kitchens without access to an oven or torch.
- Unique Technique: It’s a creative alternative that adds a rustic touch to your crème brûlée-making process.
Disadvantages of the Cast Iron Pan Method
- Requires Careful Monitoring: You’ll need to keep a close eye on the ramekins to prevent uneven caramelization or burning.
- May Not Be as Precise: While effective, this method may not provide the same level of control as others.
Choosing the Right Sugar for Caramelization
The type of sugar you choose for your crème brûlée can have a significant impact on how well it caramelizes and the flavor it imparts. Here’s a breakdown of the most common sugars and how they affect the process:
Granulated White Sugar
- Benefits: Granulated sugar is the most commonly used sugar for crème brûlée because it melts quickly and evenly, providing a crisp, delicate crust.
- Best For: Broiler and hot spoon methods.
Brown Sugar
- Benefits: Brown sugar adds a rich, molasses flavor to the caramelized top. However, it can be trickier to caramelize as it melts more slowly.
- Best For: The caramel pour method, as it benefits from the controlled heat.
Turbinado Sugar
- Benefits: With its larger crystals, turbinado sugar creates a crunchier top than granulated sugar. However, it takes longer to melt, so you’ll need to watch carefully.
- Best For: Broiling or hot spoon methods for those who want extra texture.
For more on how different types of sugar affect caramelization and flavor, visit our full guide on How to Choose the Right Sugar for Desserts, which explores the various options and their culinary uses.
Frequently Asked Questions (FAQs)
Can I make crème brûlée without a torch?
- Yes! There are several effective methods to caramelize crème brûlée without a torch, including using a broiler, the hot spoon method, or pouring caramel over the custard.
How long should I broil crème brûlée?
- Typically, you should broil crème brûlée for 2-4 minutes. Keep a close eye on the sugar to avoid burning it.
What sugar should I use for crème brûlée?
- Granulated white sugar is the best choice for a smooth, crackly top. However, you can experiment with brown or turbinado sugar for different textures and flavors.
Can I use a lighter instead of a torch?
- While it’s technically possible to use a lighter, it’s not recommended. Lighters don’t provide enough consistent heat, and using them can be dangerous.
What’s the easiest method to caramelize crème brûlée without a torch?
- The easiest and most accessible method is using the broiler, as it requires no special equipment and can caramelize multiple servings at once.
Conclusion
Caramelizing crème brûlée without a torch is not only possible but can also produce delicious, professional-quality results. Whether you opt for the broiler, hot spoon, caramel pour, or cast iron pan method, there are plenty of ways to create the perfect caramelized top without investing in a torch. By learning how to caramelize crème brûlée without a torch, you can enjoy this classic dessert at home, using methods that suit your kitchen setup and preferences.
By following these methods and experimenting with different sugars, you can master the art of making crème brûlée in your own kitchen, with or without special tools. For more tips on how to elevate your dessert game, check out our guide to Classic Crème Brûlée Techniques and take your skills to the next level.
If you’re in the mood for a dessert with less effort but just as much flavor, try this easy No-Bake Cherry Cheesecake Dessert.
Enjoy experimenting, and happy cooking!