
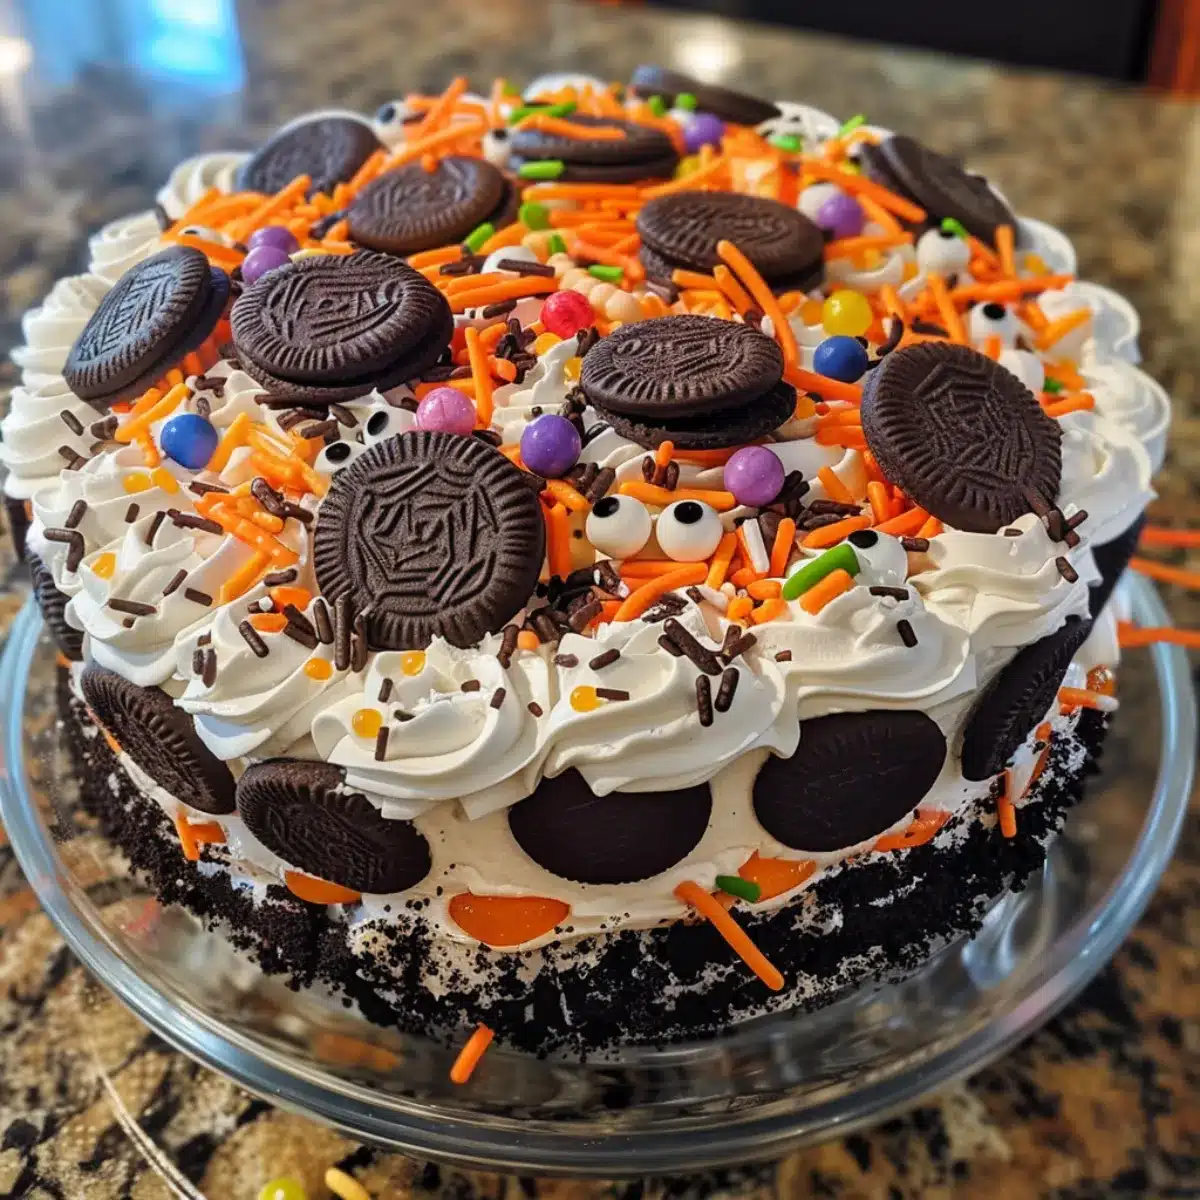
If you’re looking for a quick, no-bake dessert that’s festive and full of Halloween spirit, this Halloween Round Icebox Cake is the perfect choice. With layers of chocolate cookies, creamy whipped filling, and bright pops of spooky colors, it’s an eye-catching treat that’s as easy to make as it is fun to eat.
The best part? This dessert is made ahead of time so the flavors blend beautifully, making it a stress-free option for Halloween parties, potlucks, or spooky movie marathons.
Ingredients
- 2 cups heavy whipping cream
- ½ cup powdered sugar
- 1 teaspoon vanilla extract
- 2–3 drops orange food coloring (optional)
- 2–3 drops purple food coloring (optional)
- 2–3 drops green food coloring (optional)
- 1 (14–16 oz) package chocolate wafer cookies or Oreo Thins
- Halloween sprinkles (optional)
- Candy eyeballs (optional)
Preparation
Step 1: Whip the Cream
- In a large mixing bowl, whip heavy cream, powdered sugar, and vanilla extract until stiff peaks form. Divide the whipped cream into 3 bowls and tint each with orange, purple, and green food coloring.
Step 2: Layer the Cake
- Place a cookie in the center of a round serving plate. Spread a small dollop of one colored whipped cream on top. Place another cookie on top and repeat, alternating colors as you stack.
Step 3: Build the Layers
- Continue stacking cookies and whipped cream until you’ve used all the cookies, keeping the cake’s shape round and even.
Step 4: Frost the Cake
- Use the remaining whipped cream to frost the outside of the cake, blending colors for a spooky marbled effect if desired.
Step 5: Add Decorations
- Sprinkle with Halloween sprinkles and place candy eyeballs for a playful, creepy touch.
Step 6: Chill
- Cover the cake loosely and refrigerate for at least 4–6 hours, or overnight, to allow the cookies to soften into a cake-like texture.
Variation
- Pumpkin Spice Flavor: Add 1 teaspoon pumpkin pie spice to the whipped cream.
- Chocolate Lovers: Drizzle with chocolate ganache before serving.
- Ghoulish Glow: Use neon food coloring for a glow-in-the-dark party look.
- Oreo Swap: Use Halloween Oreos for extra color.
- Candy Crunch: Add crushed candy bars between layers.
Cooking Notes
An icebox cake tastes best when chilled overnight, allowing the cookies to soften completely. Keep refrigerated until ready to serve.
Serving Suggestions
- Serve slices on black or orange plates for a Halloween vibe
- Pair with a pumpkin spice latte or hot cocoa
- Add gummy worms or fake spiders for extra spookiness
- Cut into wedges like a traditional cake for easy serving
- Perfect centerpiece for a Halloween dessert table
Tips
- Use a serrated knife for cleaner slices
- Make it a day ahead for best texture
- Whip cream until stiff peaks for a stable frosting
- Keep food coloring gel-based to avoid watering down cream
- Decorate just before serving for the freshest look
Prep Time / Cooking Time / Total Time
Prep Time: 25 minutes
Cooking Time: 0 minutes (no-bake)
Total Time: ~6 hours 25 minutes (includes chilling time)
Nutritional Info (Per Serving – Approx. 10 servings)
- Calories: ~320
- Protein: ~3g
- Sodium: ~180mg
FAQs
Can I make this ahead?
- Yes—prepare up to 24 hours in advance and keep refrigerated.
Can I freeze icebox cake?
- Yes, but texture may change; best enjoyed fresh from the fridge.
What other cookies can I use?
- Graham crackers, digestive biscuits, or shortbread work well.
Can I make it in a square pan instead?
- Absolutely—just layer cookies and cream in the pan like a lasagna.
Conclusion
This Halloween Round Icebox Cake is a simple, no-bake dessert that delivers big visual impact with minimal effort. With layers of chocolate cookies, colorful whipped cream, and fun decorations, it’s a show-stopper for any spooky celebration.
Make it ahead, chill, and serve for an easy yet impressive Halloween treat that’s sure to delight kids and adults alike.