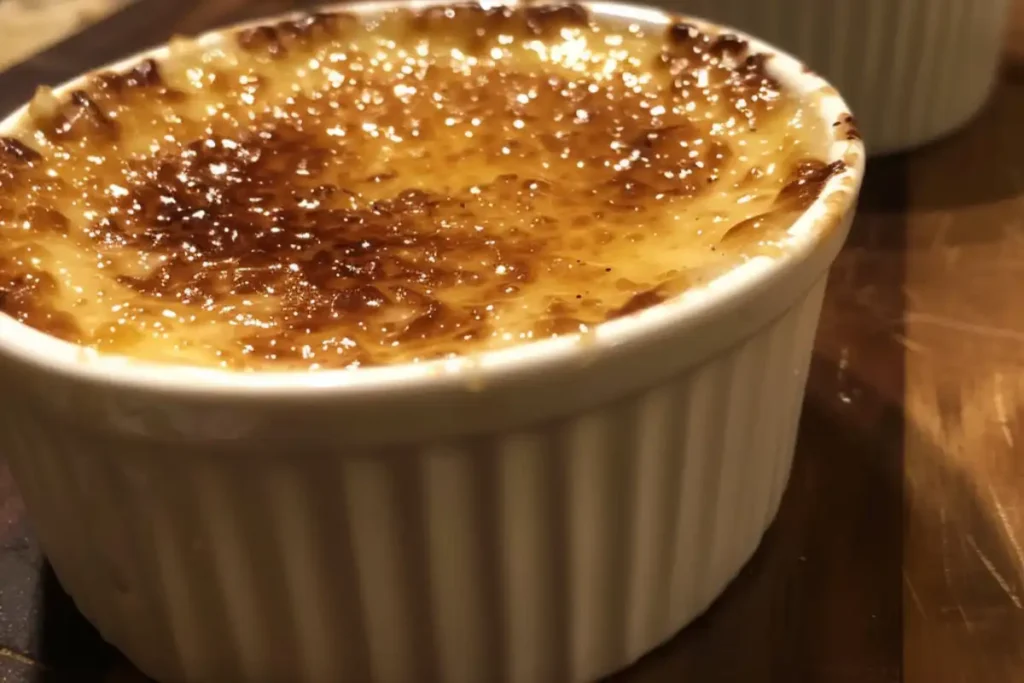
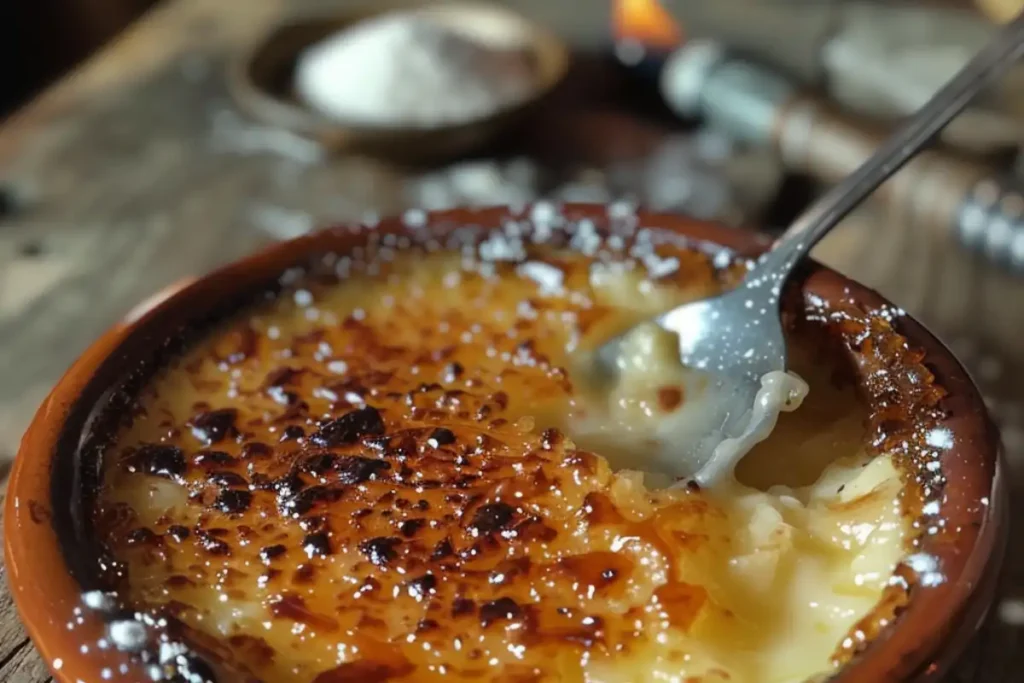
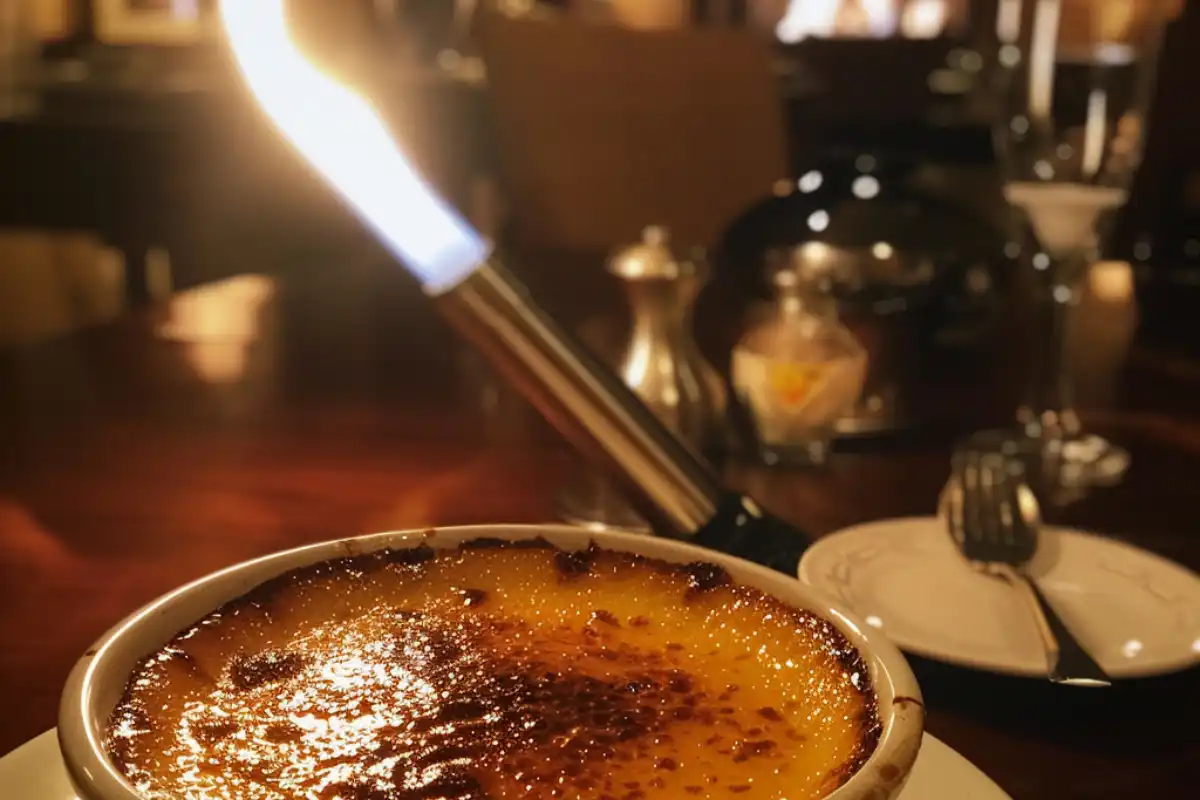
Crème brûlée is an iconic French dessert, loved for its creamy custard base and signature crisp, caramelized sugar topping. The process of torching sugar on crème brûlée is what gives this dessert its unique texture and flavor. Caramelization, the chemical reaction that transforms the sugar into a hard, glossy layer, is key to achieving that satisfying crunch.
Caramelization is the chemical process of heating sugar until it melts, browns, and transforms into a hard, glossy layer. It’s a vital step in creating the crunchy topping that contrasts with the creamy custard beneath. In this comprehensive guide, we’ll dive deep into the science of caramelization, the history of crème brûlée, tools you’ll need, step-by-step instructions, and even explore creative variations of this beloved dessert.
What Is Caramelization?
Caramelization is a form of non-enzymatic browning that occurs when sugar is heated. The process begins when the sugar reaches a temperature of about 320°F (160°C), causing it to melt and undergo a complex series of chemical reactions. These reactions are responsible for the deepening of color, from light golden to dark amber, and the rich, nutty flavors that make caramelized sugar so irresistible. Torching sugar on crème brûlée is essential to this process, as it applies the precise heat needed to achieve that signature caramelized crust.
Here are the essential steps of caramelization:
- Melting of sugar: The sugar crystals break down and liquefy when exposed to high heat.
- Browning of sugar: As the sugar continues to heat, its color changes from pale to a deep, golden brown.
- Flavor development: The caramelized sugar develops complex flavors, ranging from sweet to slightly bitter, adding richness and depth to the final product.
Caramelization creates a contrast between the creamy custard and the hard, crackable sugar topping in crème brûlée. The satisfying “crack” that occurs when you break through the caramelized layer with a spoon is a hallmark of the dessert.
Caramelization doesn’t just stop at adding a textural component; it also enhances the flavor profile by introducing bittersweet notes that complement the custard’s creamy sweetness. Learn more about caramelization and its effect on sugar here.
A Brief History of Crème Brûlée
Crème brûlée, meaning “burnt cream” in French, has been a staple of French cuisine for centuries. The dessert has its roots in French culinary traditions, but variations of custard-based desserts with caramelized sugar toppings, achieved by torching sugar on crème brûlée, can be found across Europe, from Spain’s crema catalana to England’s burnt cream.
- France: Crème brûlée first gained popularity in France in the 17th century. Its origins are often linked to François Massialot, a French chef who included a recipe for crème brûlée in his 1691 cookbook.
- England: In England, a similar dish called “Trinity Cream” or burnt cream became popular in the 19th century, particularly at Trinity College, Cambridge. The sugar was caramelized using a branding iron with the college crest.
- Spain: Spain’s version, known as crema catalana, features a similar custard base but is typically flavored with citrus and cinnamon, adding a Mediterranean twist to the dish.

The evolution of crème brûlée from a simple custard to a refined dessert with a caramelized sugar crust represents centuries of culinary experimentation. Today, it is a beloved dish in fine dining establishments worldwide. For a more in-depth exploration of crème brûlée’s evolution over time, you can check out The History of Crème Brûlée, which dives deeper into the historical context of this classic dessert.
The Science Behind Caramelization and Maillard Reaction
While caramelization is often associated with browning sugars, it is important to distinguish it from the Maillard reaction, another type of browning that occurs between amino acids and reducing sugars
- Caramelization: This process is specific to sugars and occurs at high temperatures, typically without the presence of proteins. It is responsible for the crisp, glassy top achieved by torching sugar on crème brûlée.
- Maillard Reaction: This occurs when proteins and sugars react together under heat, producing complex flavors, which are often seen in browned meats or baked bread.
For crème brûlée, only caramelization is at play, as it involves heating the sugar topping to create the desired texture and flavor. The beauty of this process lies in the fact that it only affects the sugar, leaving the custard underneath untouched, cold, and creamy.
Tools Needed for Caramelizing Sugar on Crème Brûlée
Creating the perfect caramelized top for your crème brûlée requires the right tools. Here’s what you’ll need:
1. Kitchen Torch
A kitchen torch is the preferred tool for caramelizing sugar on crème brûlée. It allows you to direct heat precisely where you need it without affecting the custard underneath. The controlled flame ensures even browning and prevents burning.
- Why a kitchen torch? The torch gives you the ability to caramelize the sugar without overheating the custard, maintaining the contrast between the cold custard and warm sugar.If you’re unsure of which torch to use, check out this guide on How to Choose the Best Kitchen Torch for expert advice on selecting the right one for your needs.
2. Broiler (Alternative)
If you don’t have a kitchen torch, you can use a broiler. However, this method requires careful attention, as the heat can be uneven and may melt or overheat the custard.
- How to use a broiler: Place the ramekins with sugared custards under a preheated broiler and watch closely. The sugar will caramelize quickly, so you need to rotate the ramekins as necessary to ensure even browning.
3. Ramekins
These small, heatproof dishes are perfect for crème brûlée. The ramekins should be shallow enough to allow a good sugar-to-custard ratio and sturdy enough to withstand the heat of the broiler or kitchen torch.
4. Sugar
For the best results, always use white granulated sugar for caramelizing the top of your crème brûlée. Avoid brown sugar or powdered sugar, as they can burn too quickly or fail to create the desired texture.
How to Caramelize Sugar on Crème Brûlée: Step-by-Step Instructions
Step 1: Prepare the Custard Base
To achieve the perfect crème brûlée, start with a smooth, creamy custard base. Traditional ingredients include heavy cream, sugar, egg yolks, and vanilla.
Ingredients:
- 2 cups heavy cream
- 5 large egg yolks
- 1/2 cup granulated sugar
- 1 vanilla bean or 1 tsp vanilla extract
Instructions:
- Heat the cream: In a saucepan, heat the heavy cream and vanilla until just simmering. Remove from heat and let it cool slightly.
- Whisk egg yolks and sugar: In a separate bowl, whisk together egg yolks and sugar until pale and smooth.
- Temper the eggs: Slowly add the warm cream to the egg mixture while whisking constantly. This prevents the eggs from curdling.
- Strain the custard: Strain the custard through a fine-mesh sieve to remove any lumps or egg bits.
- Bake in a water bath: Divide the custard mixture into ramekins and place them in a baking dish. Fill the dish with hot water halfway up the sides of the ramekins. Bake at 325°F (160°C) for 40-50 minutes or until the custard is set but still slightly jiggly in the center.
- Chill: After baking, allow the custards to cool at room temperature before chilling them in the refrigerator for at least four hours or overnight.
Want to explore other custard-based desserts? Try this No-Bake Cheesecake Recipe for an easy alternative.
Step 2: Sprinkle the Sugar
Once the custards are fully chilled, it’s time to add the sugar topping.
- Choose the right sugar: Use white granulated sugar for the best caramelization results.
- Distribute evenly: Sprinkle about 1-2 teaspoons of sugar evenly over the top of each custard, ensuring the entire surface is covered with a thin layer.
Step 3: Torch the Sugar
Using a kitchen torch is the most efficient way to achieve a perfectly caramelized sugar crust.
- Torch distance: Hold the kitchen torch about 2-3 inches away from the sugar surface.
- Circular motion: Move the torch in slow, circular motions, starting at the edges and working your way towards the center. This ensures an even melt and browning.
- Watch for color: The sugar will melt and bubble before turning golden brown. Stop torching once the entire surface is evenly caramelized.

Step 4: Cool and Serve
After torching the sugar, allow the crème brûlée to sit for about 5 minutes to let the sugar harden into a crisp shell. If you’re not serving immediately, refrigerate the dessert for 10-15 minutes to keep the custard cool while preserving the crispy sugar top.
Common Problems with Caramelization (and How to Solve Them)
Even with the right tools and techniques, caramelizing sugar on crème brûlée can sometimes present challenges. Here are some common issues and how to fix them:
1. Burnt Sugar
- Cause: The torch was held too close, or the sugar was caramelized for too long.
- Solution: Always hold the torch 2-3 inches from the sugar and keep the flame moving. If some sugar begins to burn, move the torch to another area immediately.
2. Uneven Caramelization
- Cause: Uneven distribution of sugar or inconsistent torching.
- Solution: Before torching, ensure the sugar is evenly distributed over the entire surface. As you caramelize, move the flame in consistent, circular motions to prevent hotspots.
3. Soft or Sticky Sugar Layer
- Cause: The sugar wasn’t caramelized enough or too much sugar was applied.
- Solution: Apply a thin, even layer of sugar, and ensure it is fully melted and golden before stopping.
4. Overheating the Custard
- Cause: The torch was held in one spot for too long, warming the custard beneath the sugar.
- Solution: Keep the flame moving and ensure the custard is thoroughly chilled before torching.
For more troubleshooting tips, check out Common Baking Problems and How to Fix Them.
Creative Variations of Crème Brûlée
While classic vanilla crème brûlée is always a crowd-pleaser, there are countless ways to customize the dessert with different flavors and toppings. Here are a few creative variations to try:
1. Flavored Custards
Infuse your custard with unique flavors to add a new twist to the traditional recipe:
- Chocolate Crème Brûlée: Add melted dark chocolate to the custard base for a rich, decadent flavor.
- Espresso Crème Brûlée: Stir in a shot of strong espresso for a coffee-flavored custard.
- Citrus Crème Brûlée: Incorporate orange or lemon zest into the custard to add a bright, citrusy note.
2. Flavored Sugars
Adding flavors to the sugar topping can enhance the complexity of the caramelized crust:
- Cinnamon Sugar: Mix ground cinnamon with granulated sugar for a warm, spicy twist.
- Vanilla Sugar: Use vanilla-infused sugar for an extra layer of flavor on top.
3. Toppings
Experiment with different toppings to add texture and flavor:
- Fresh Berries: Add a layer of raspberries, blueberries, or strawberries under the sugar before caramelizing.
- Chocolate Drizzle: Drizzle melted chocolate over the caramelized sugar for an extra layer of indulgence.
For more ideas on how to customize your desserts, check out Chocolate Raspberry Cupcakes Recipe for inspiration.
Safety Tips for Using a Kitchen Torch
Using a kitchen torch requires proper safety precautions to avoid accidents. Here are a few key tips:
- Check the torch before use: Ensure that the torch is in good working condition and that there are no gas leaks.
- Keep flammable items away: Make sure that your work surface is clear of flammable materials, such as paper towels or wooden utensils.
- Work in a well-ventilated area: Always use the torch in a well-ventilated area to prevent gas buildup.
- Store safely: Let the torch cool completely before storing it in a safe place, away from children or pets.
FAQs About Caramelizing Crème Brûlée
1. What is it called when you torch the sugar on crème brûlée?
- The process is called caramelization. This occurs when sugar is heated to high temperatures, causing it to melt, bubble, and harden into a crunchy, glass-like topping.
2. Can I make crème brûlée without a torch?
- Yes, you can use a broiler instead of a kitchen torch. Place the sugared custards under a preheated broiler and watch closely, as the sugar can caramelize quickly.
3. What type of sugar is best for caramelizing on crème brûlée?
- White granulated sugar is the best choice for caramelizing because it melts evenly and forms a smooth, crisp topping. Avoid powdered or brown sugar, as they may burn or not caramelize properly.
4. How far in advance can I prepare crème brûlée?
- You can prepare crème brûlée up to two days in advance. However, it’s best to caramelize the sugar just before serving to ensure the crisp topping.
5. Why didn’t my sugar form a hard crust?
- If your sugar layer is soft or sticky, it means the sugar wasn’t fully caramelized. Make sure to torch the sugar until it is completely melted and turns a deep golden brown.
Final Thoughts: Mastering the Art of Caramelization
Mastering the art of caramelizing sugar on crème brûlée may seem daunting at first, but with the right tools and techniques, it’s a skill that can be easily perfected. The key to achieving a flawless caramelized top is paying close attention to detail, ensuring that the sugar is evenly spread and the flame is consistently moved across the surface.
Once you’ve mastered the basics of torching sugar on crème brûlée, don’t be afraid to experiment with different flavors, toppings, and variations to make your dessert unique. Whether you stick to the classic vanilla recipe or try out new combinations, this elegant dessert is sure to impress.
For more dessert inspiration and tips on perfecting your culinary skills, explore other delicious recipes like Sourdough Banana Muffins or Easy Homemade Goldfish Cheddar Crackers.

